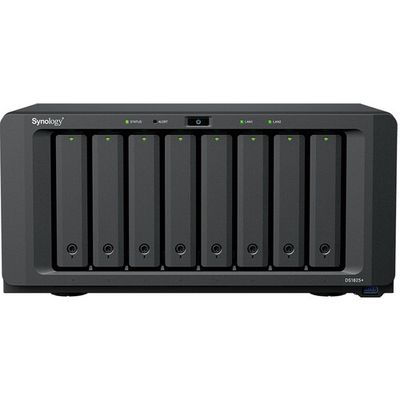
Setting Up iSCSI on Synology DS1621+ and Mounting on Ubuntu 22.04
On the Synology DS1621+
1. Enable iSCSI Target Service
-
Log in to DSM.
-
Navigate to SAN Manager > iSCSI.
-
Enable iSCSI Target Service.
2. Create an iSCSI Target
-
Go to SAN Manager > iSCSI Targets > Create.
-
Enter a name for the target (e.g.,
ubuntu_remote). -
Configure CHAP authentication if desired (optional).
-
Save the target.
3. Create an iSCSI LUN
-
Go to SAN Manager > iSCSI LUN > Create.
-
Select Advanced LUN (File Level).
-
Specify
/volume1/docker_remote/as the directory for the LUN file. -
Set the desired size (e.g., 100GB or more).
-
Map the LUN to the previously created iSCSI Target.
-
Save the configuration.
4. Note the Target IQN
-
Navigate to iSCSI Targets.
-
Record the IQN for later use.
On the Ubuntu 22.04 Server
1. Install iSCSI Initiator
Install the necessary package to interact with iSCSI targets.
sudo apt update

sudo apt install open-iscsi
2. Discover iSCSI Targets
Discover available iSCSI targets on the Synology NAS. Replace <Synology_IP> with the IP address of your Synology.
sudo iscsiadm -m discovery -t sendtargets -p <Synology_IP>
3. Log In to the Target
Log in to the iSCSI target using the IQN and IP of the Synology NAS.
sudo iscsiadm -m node --targetname <Target_IQN> --portal <Synology_IP> --login
4. Verify iSCSI Session
Ensure the iSCSI session is active.
sudo iscsiadm -m session
Partition, Format, and Mount the iSCSI Disk
1. Identify the Disk
List all disks to identify the iSCSI disk (likely /dev/sdb).
sudo fdisk -l
2. Partition the Disk
Run fdisk to create a new partition:
sudo fdisk /dev/sdb
At the fdisk prompt:
-
Press
nto create a new partition. -
Accept the defaults for partition type, start, and end sectors.
-
Press
wto write changes and exit.
3. Format the Partition
Format the partition with the ext4 filesystem.
sudo mkfs.ext4 /dev/sdb1
4. Create the Mount Point
Create the directory where the iSCSI disk will be mounted.
sudo mkdir -p /docker/ubuntu_remote/
5. Mount the Partition
Mount the partition to the directory.
sudo mount /dev/sdb1 /docker/ubuntu_remote/
6. Verify the Mount
Check if the disk is successfully mounted.
df -h
Make the Mount Persistent
1. Add to /etc/fstab
Open /etc/fstab for editing:
sudo vi /etc/fstab
Add the following line to the end of the file:
/dev/sdb1 /docker/ubuntu_remote/ ext4 defaults,_netdev 0 0
2. Reload systemd and Test
Reload systemd and remount all filesystems:
sudo systemctl daemon-reload

sudo mount -a
iSCSI Disk Setup Complete
Your iSCSI disk should now be mounted and ready for use at /docker/ubuntu_remote/.